Subdomains of the primary website are crucial for achieving a successful website-based business with a variety of content categories. Subdomains make it simple to offer content for various services on one website.
A subdomain name: what is it?
A subdomain name is a tidbit of extra information that is appended to the domain name of a website. Websites can use it to isolate and arrange material for a particular purpose from the rest of their site, such as a blog or an online store.
For instance, blog.techypark.com is a subdomain of www.techypark.com.

What is required to establish a subdomain?
With just a few requirements, such as domain DNS access and server access, subdomains can be simply formed. These essential elements are all you need to launch a subdomain and take your business to the next level.
Creating a subdomain:
Having access to the aforementioned information makes it much simpler to create a subdomain. If you follow the steps, it will automatically board you to your destination.
1. Your desired subdomain name should have a “CNAME” record created for it that points to your server’s IP address.
- Select the domain for which you want the subdomain.
- Take a look at DNS >> Records.
- Just enter “Name” and “Target” after choosing the record type from the dropdown panel to add a record.
- Save the record.
2. The domain name should be added to your server.
Let’s discuss these steps and get them explained.
1. Your desired subdomain name should have a “CNAME” record created for it that points to your server’s IP address.
The most crucial step in creating a domain or subdomain is setting up DNS records and pointing them toward the server. Records can be created with the “A” record type, which must point to an IPv4 address for the server. The same is true for “AAAA” record types, which must point to IPv6 server addresses.
However, when it comes to best practices, we can choose the “CNAME” record type, which must be pointed at any kind of server domain or subdomain, whether it be custom or default.
Logging into your Domain DNS (in my instance, Cloudflare) is the first step.
Next, pick the domain for which you want the subdomain.
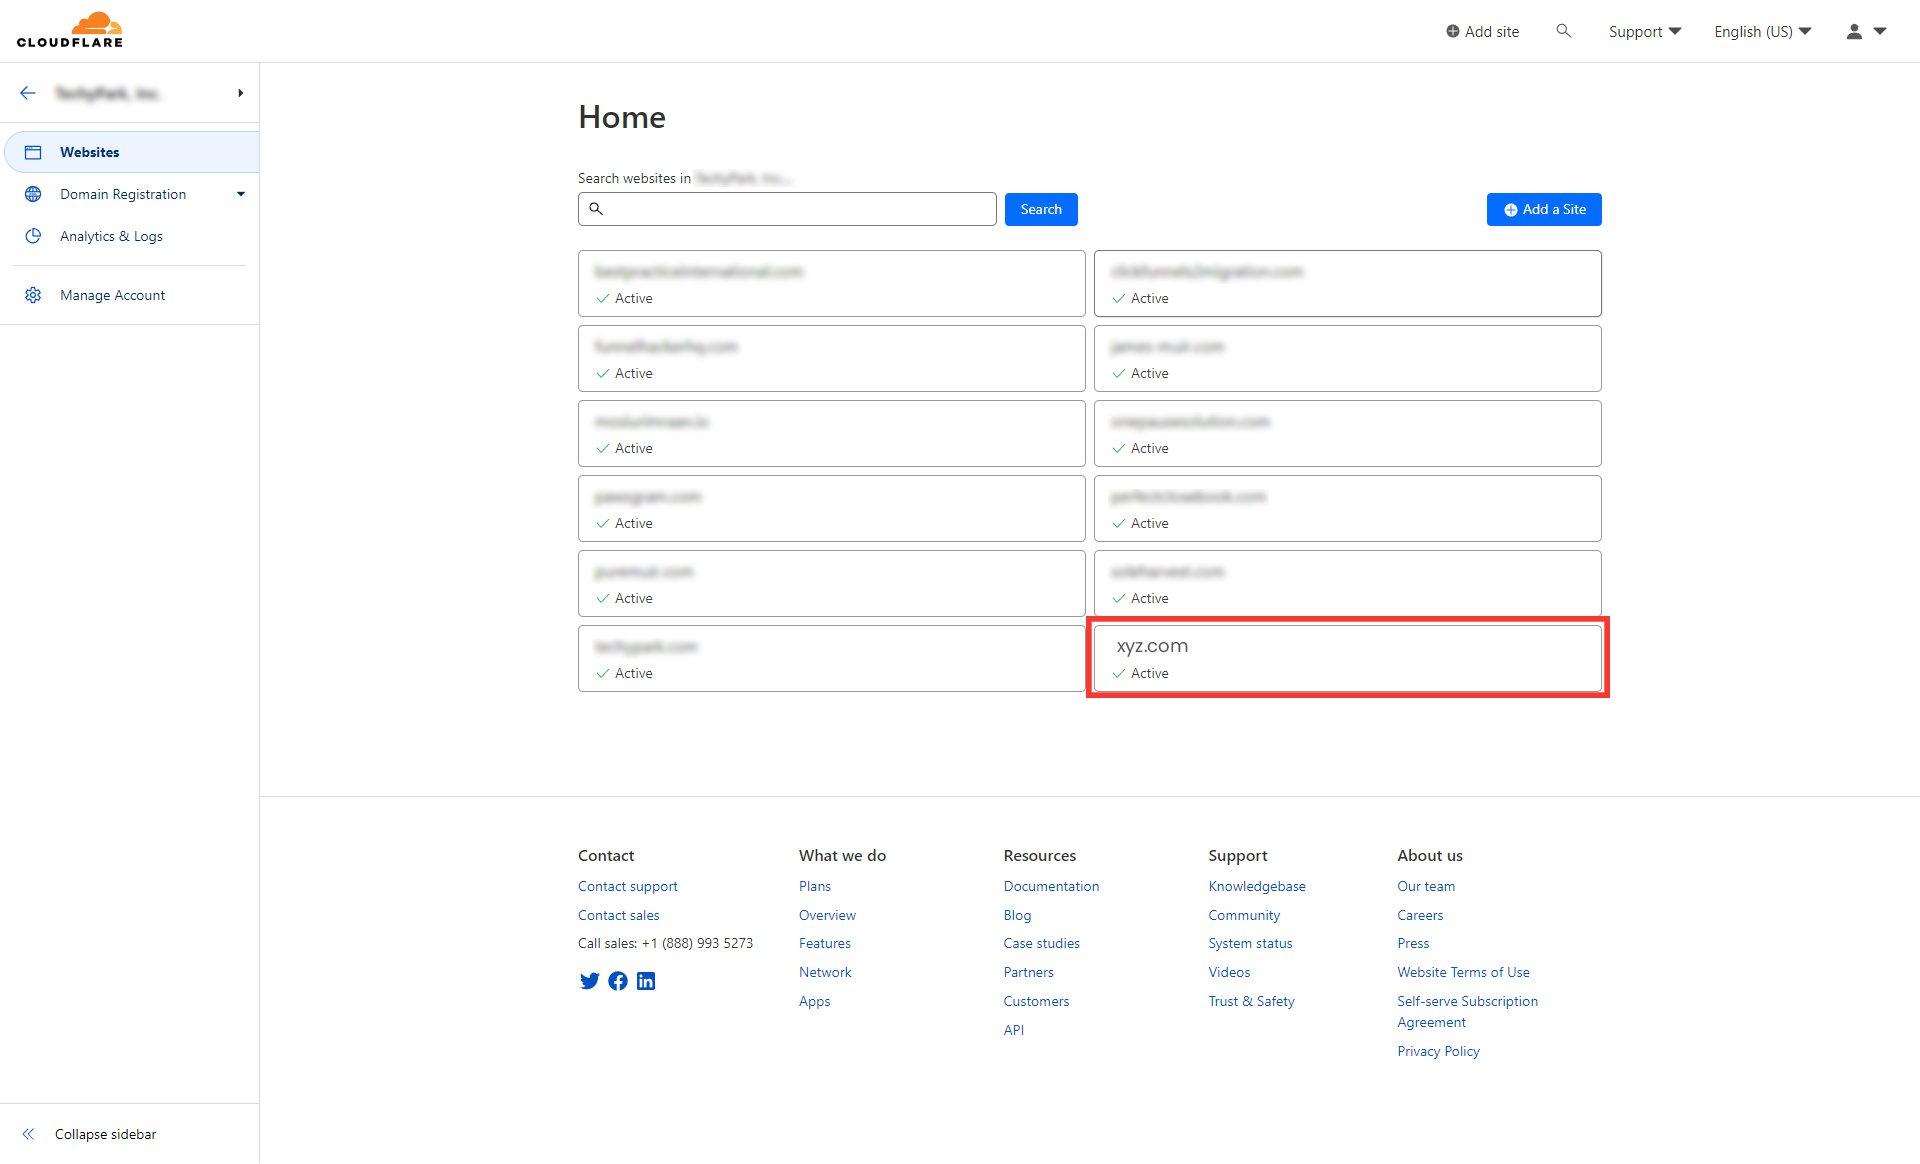
Source: Cloudflare
Look for DNS >> Records (in my case, top left of the screen) after clicking into the domain.
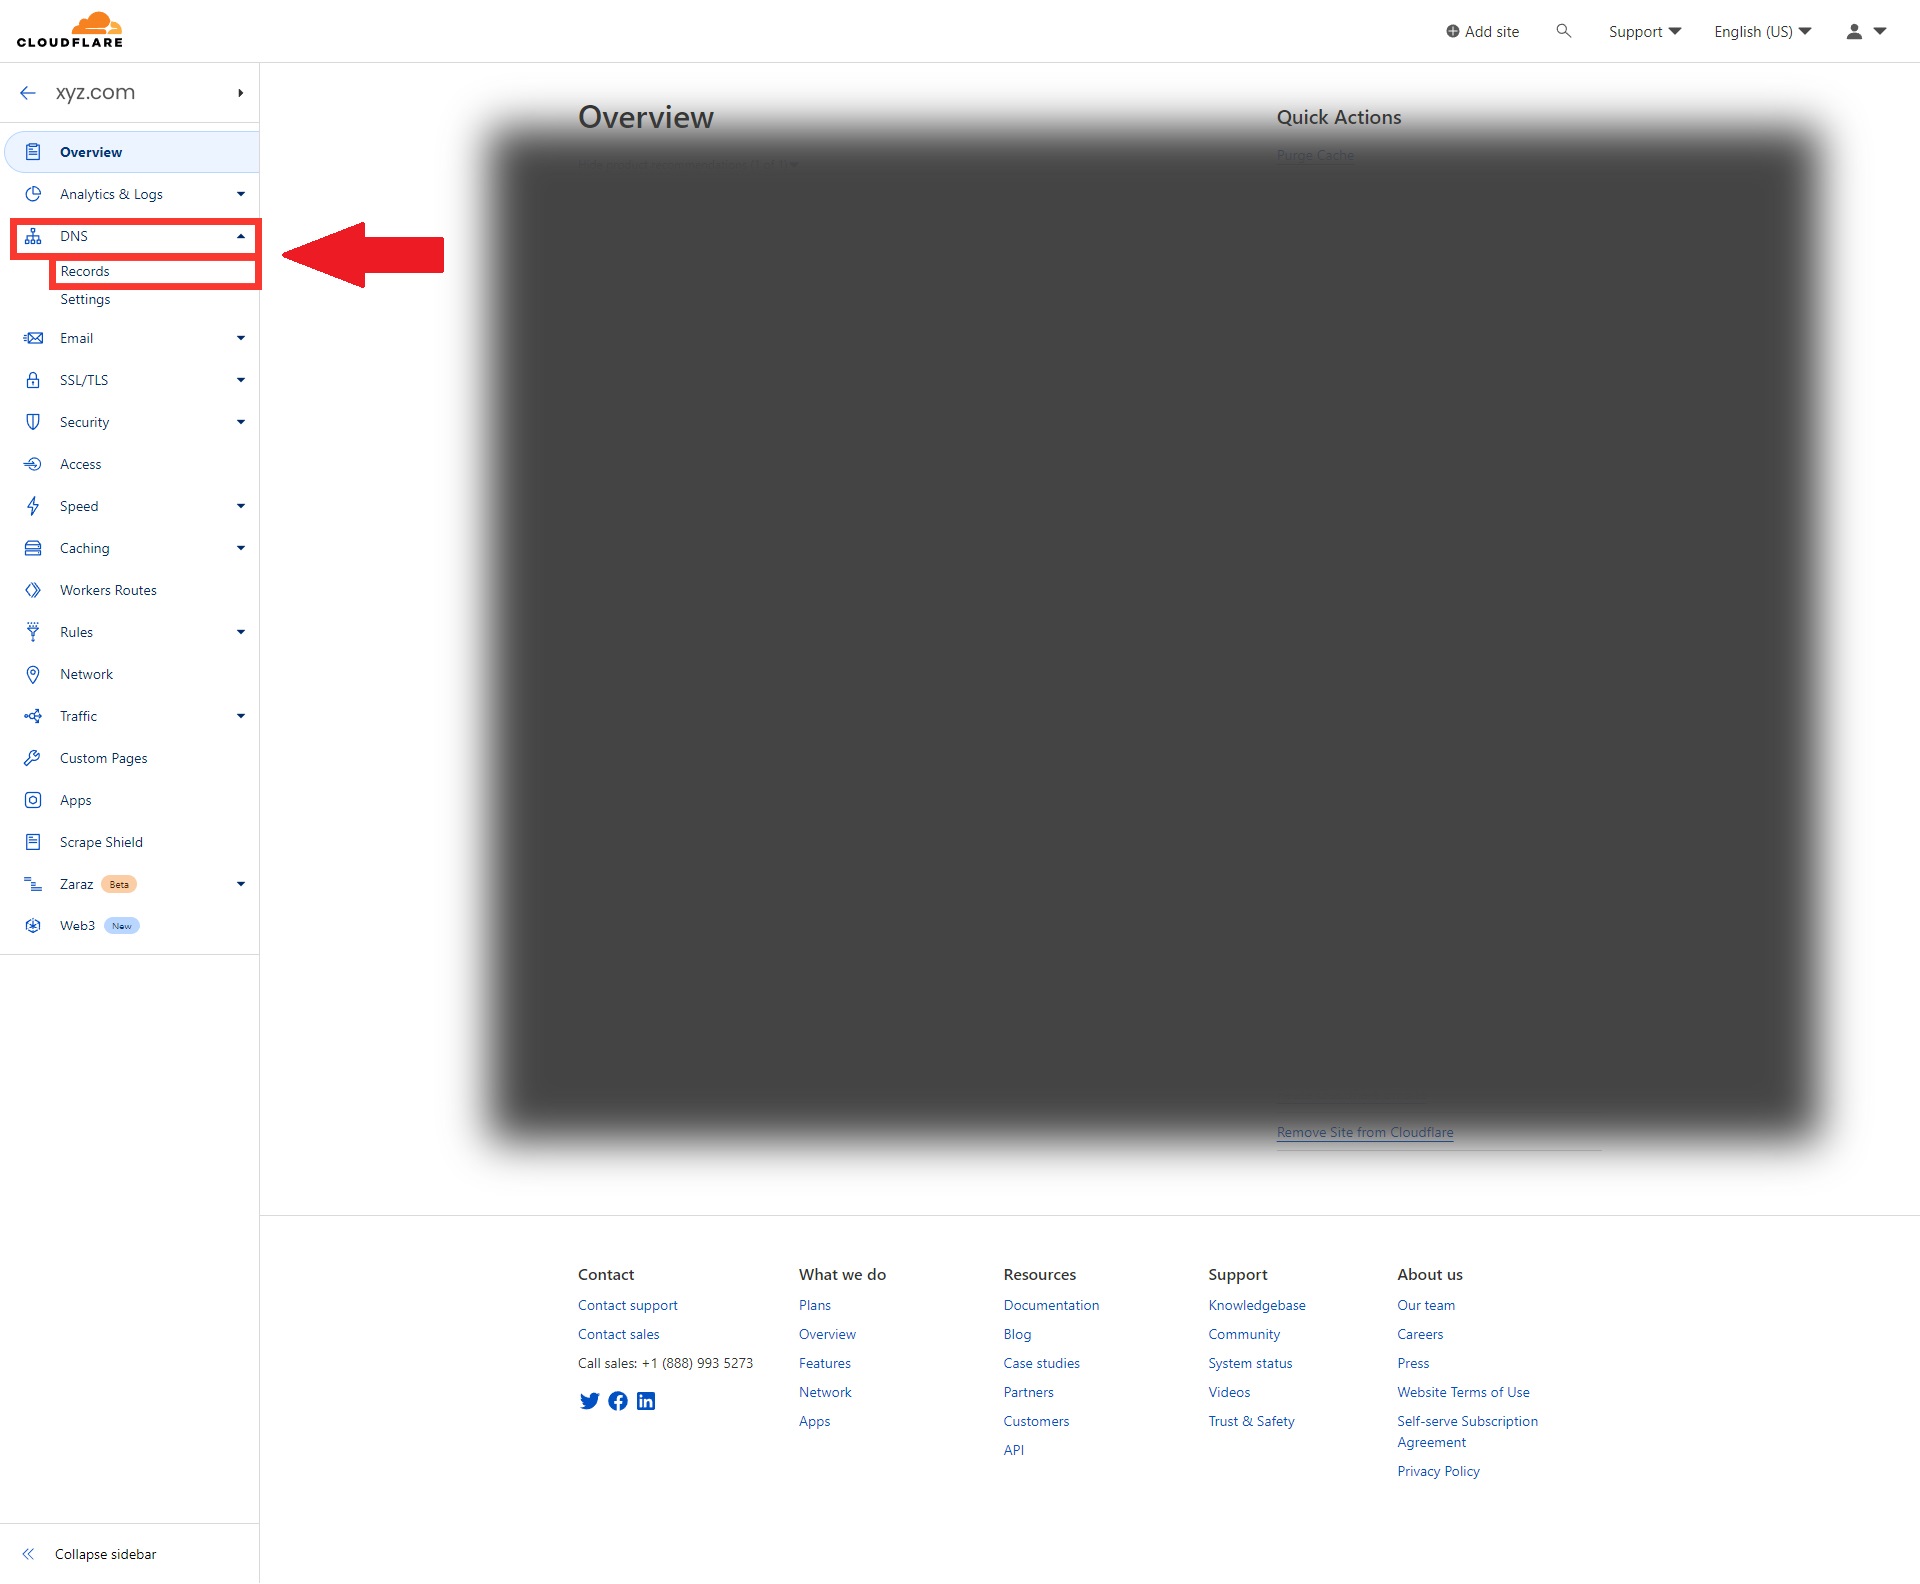
Source: Cloudflare
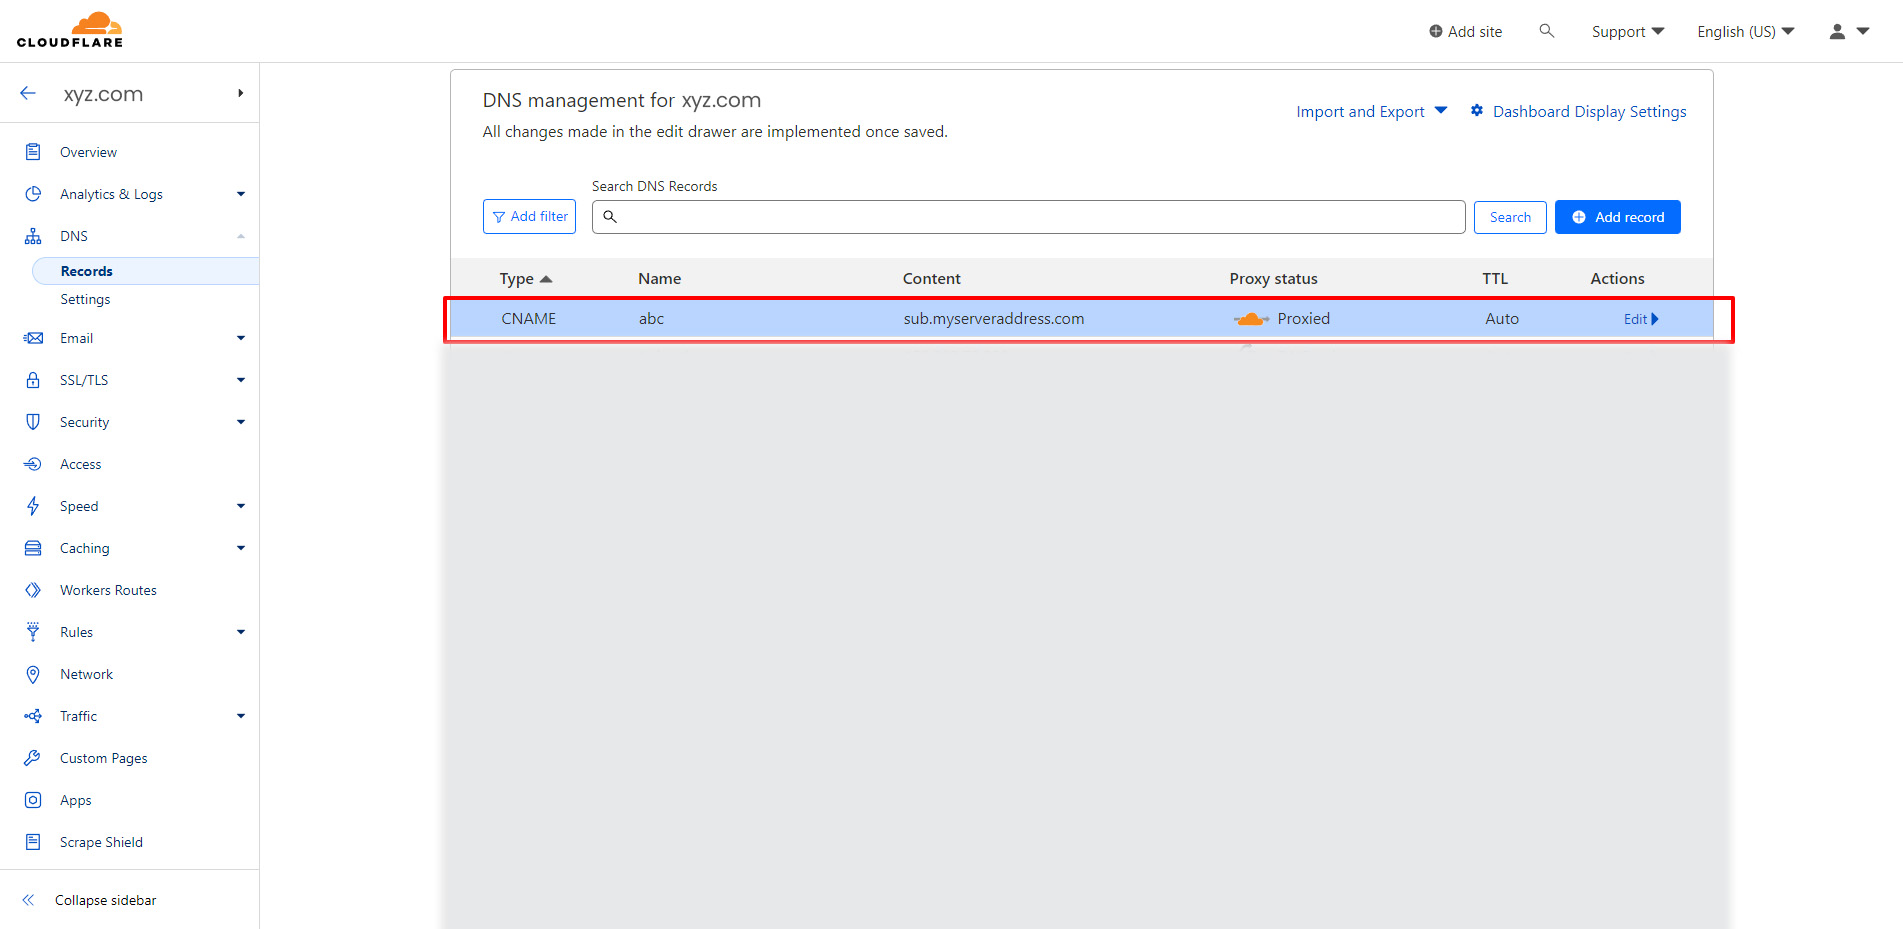
Once that’s done, just add a record.
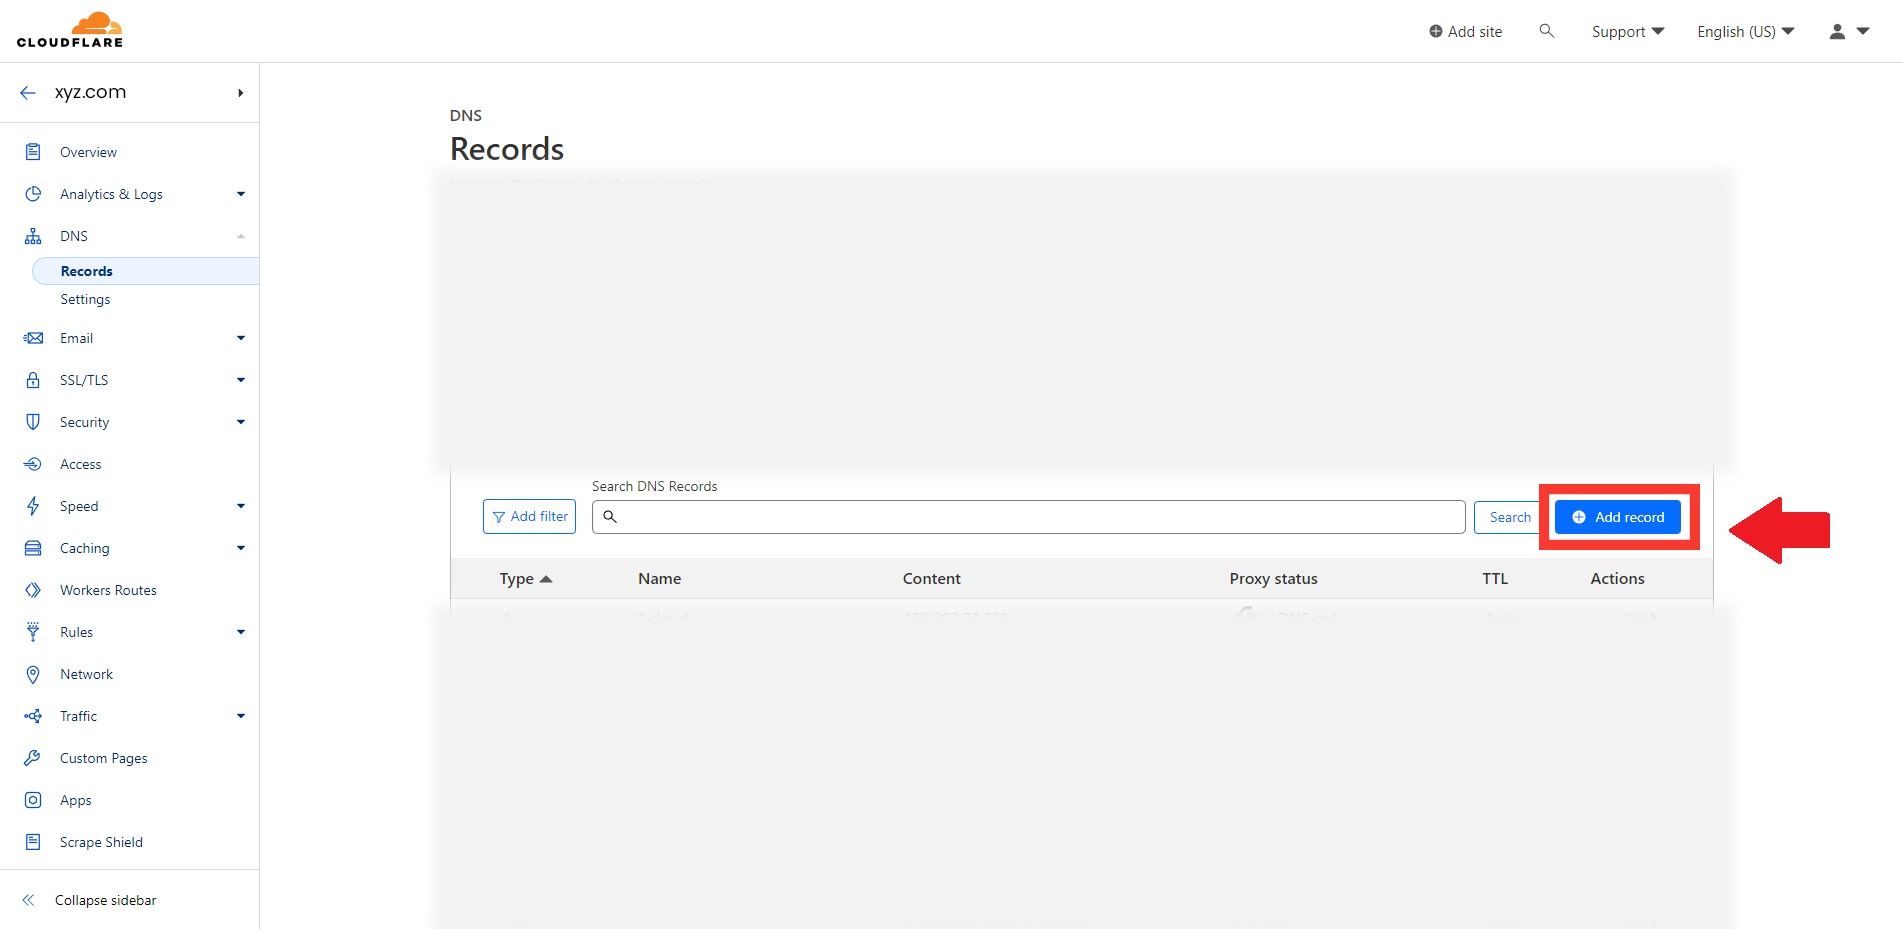
Source: Cloudflare
Choose “CNAME” from the list of record types, enter the name of the subdomain in the “name” box, and enter the server domain or subdomain in the “target” field.
Use “A” as a server type, your IPv4 address to the target, or “AAAA” as a server type, your IPv6 address to the target if you don’t have the server domain or subdomain.
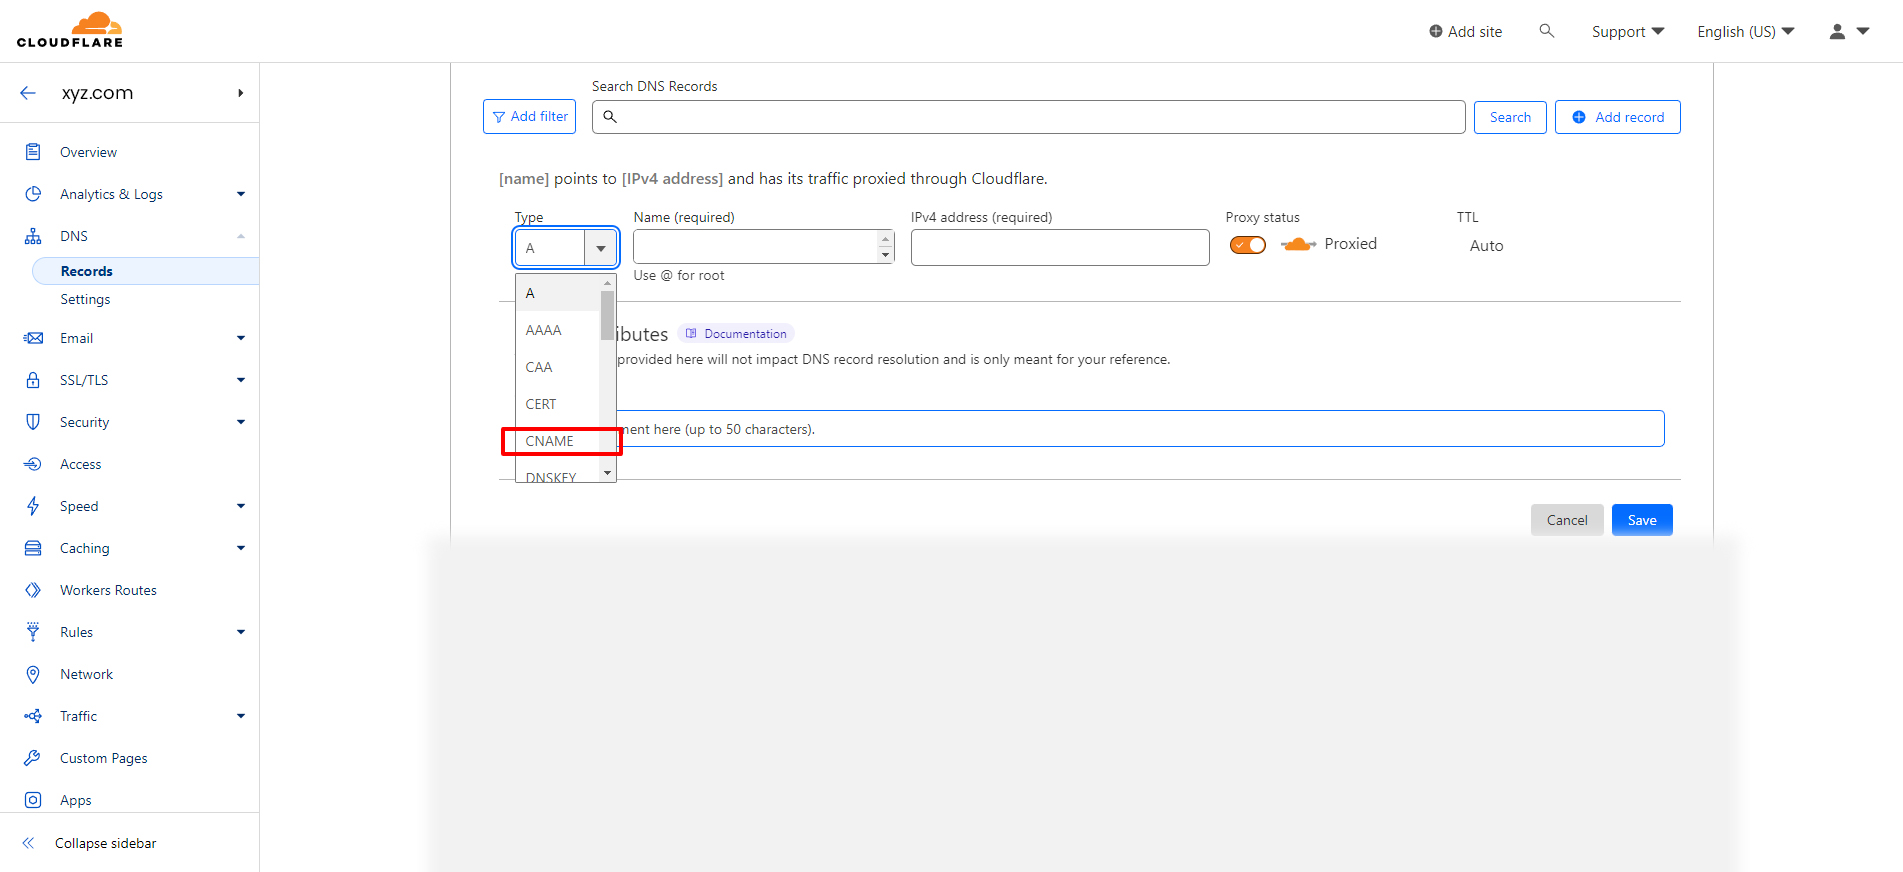
Source: Cloudflare
We can move on to step 2 after the record appears to have been saved.
Source: Cloudflare
2. Add the domain name to your server.
Once the DNS has been pointed at the server, you must log into the server dashboard and add a new domain under your primary domain that will be treated as a child domain, or perhaps a subdomain.
Enter the server dashboard and look for the “Create New Domain” button (mine is marked as follows:).
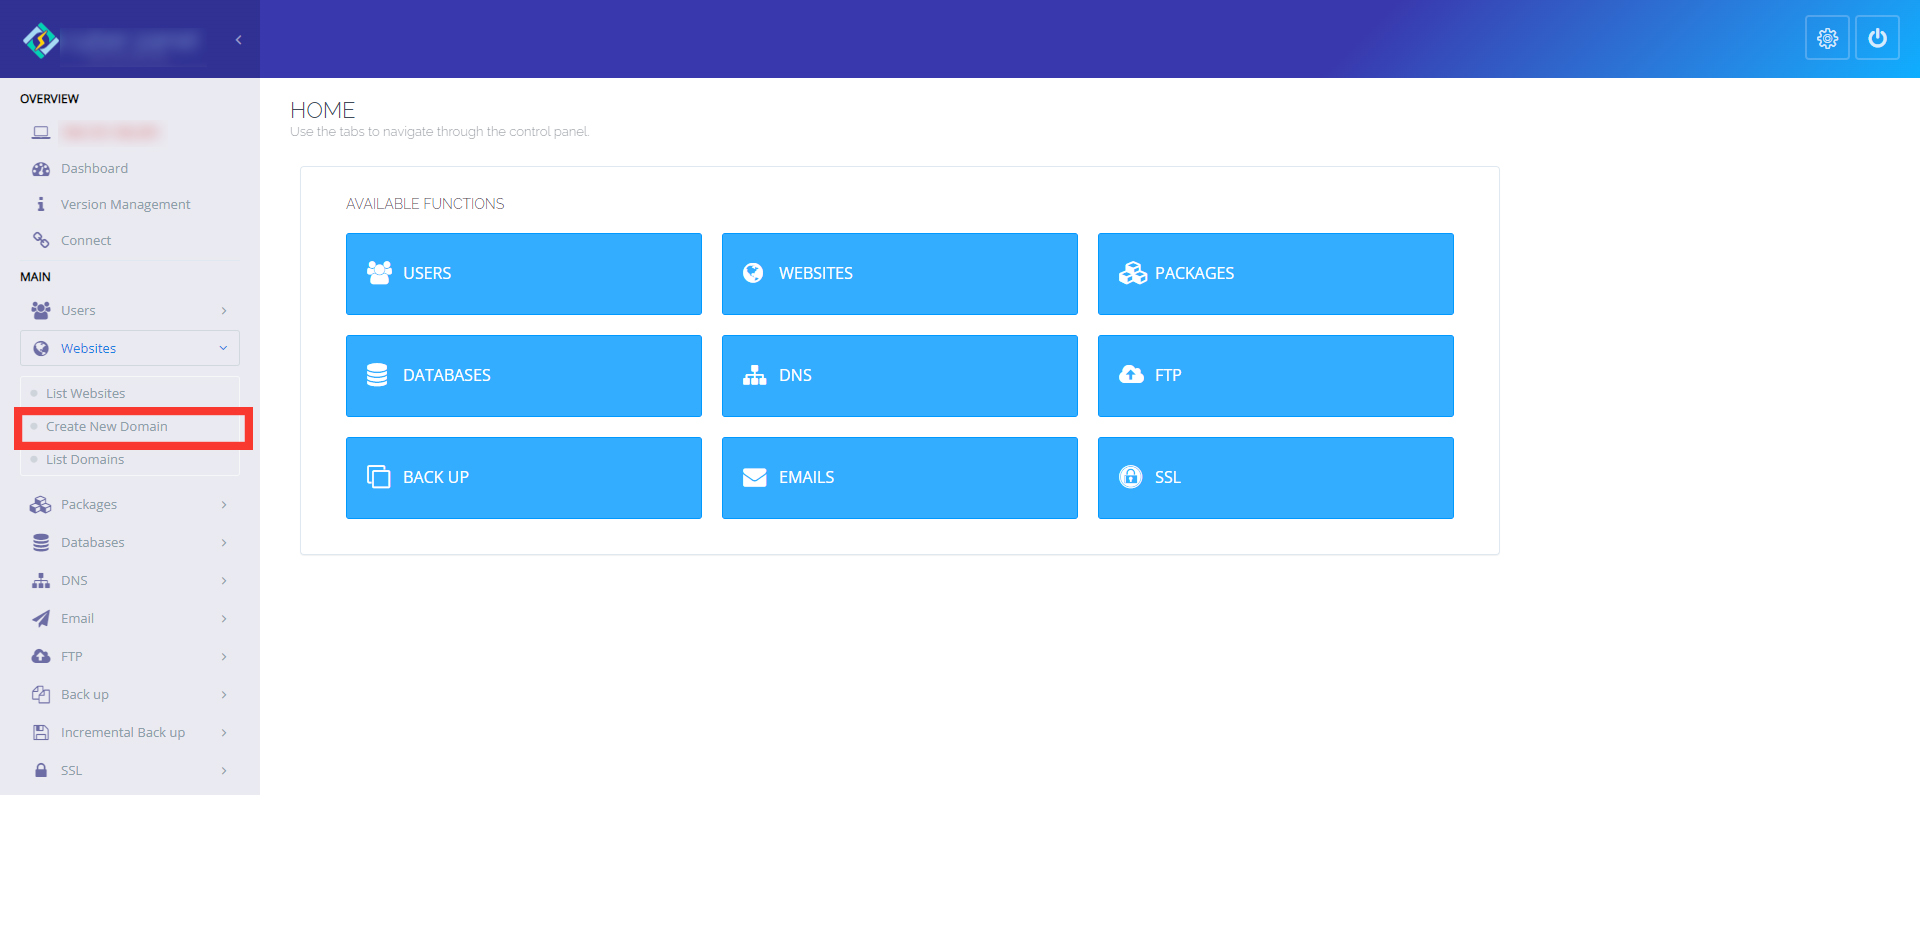
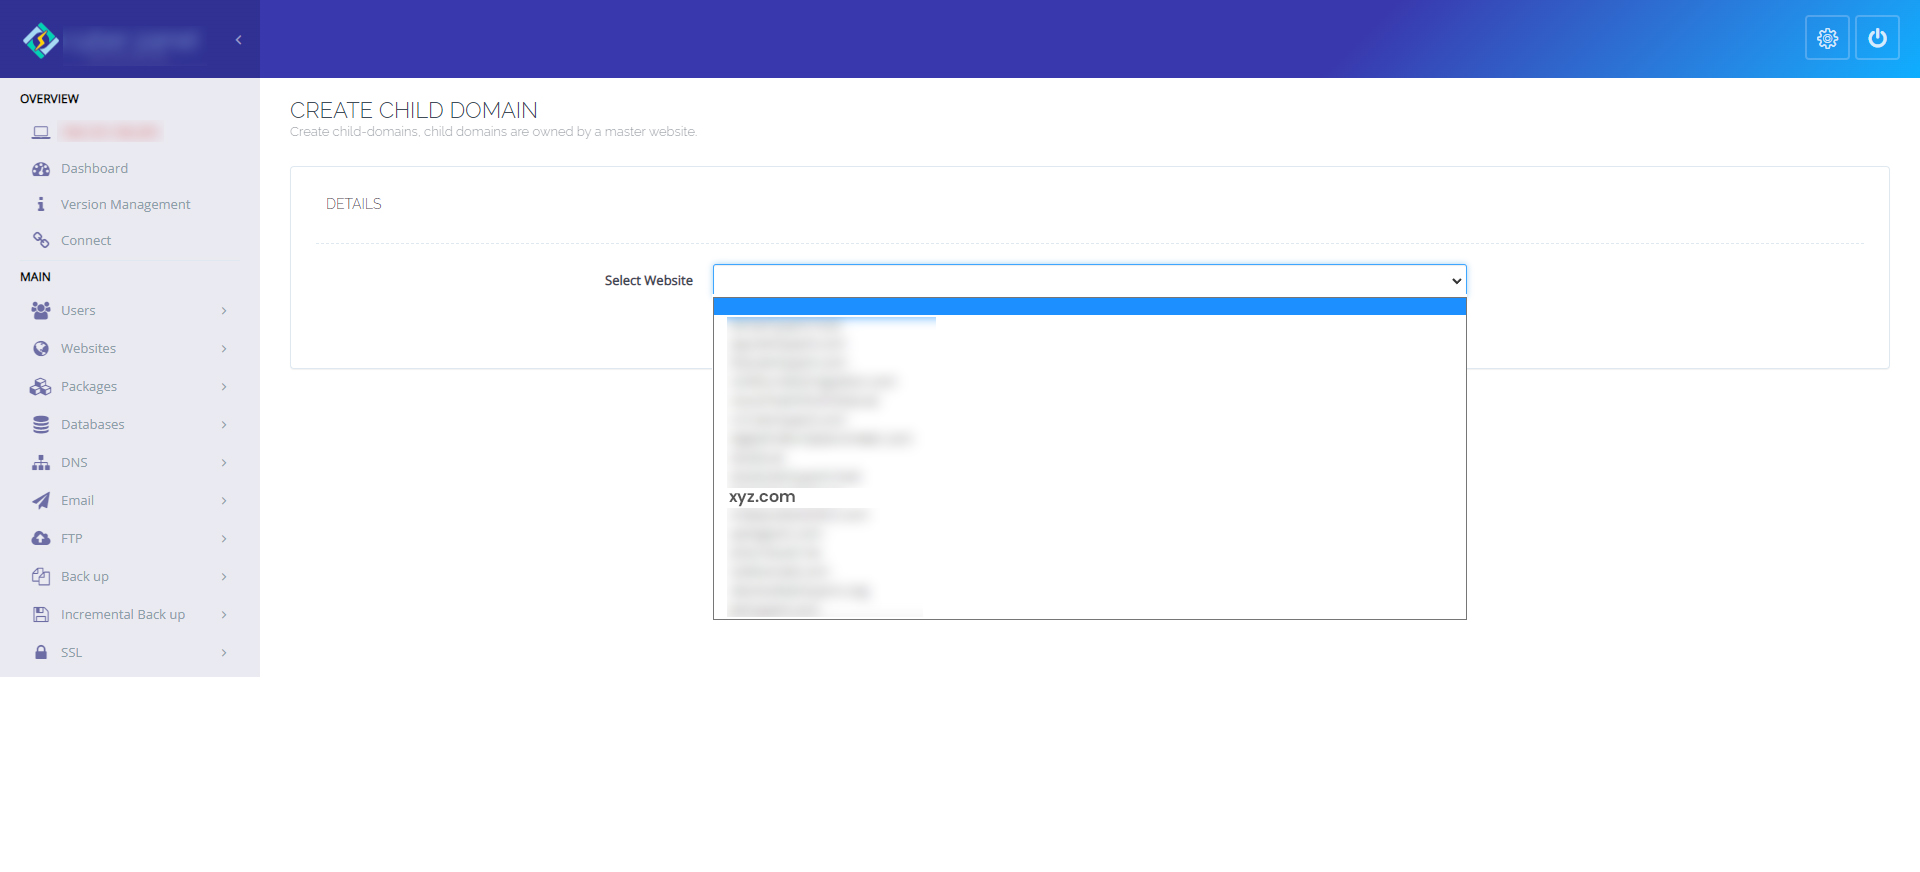
Choose the website you wish the subdomain to be created under.
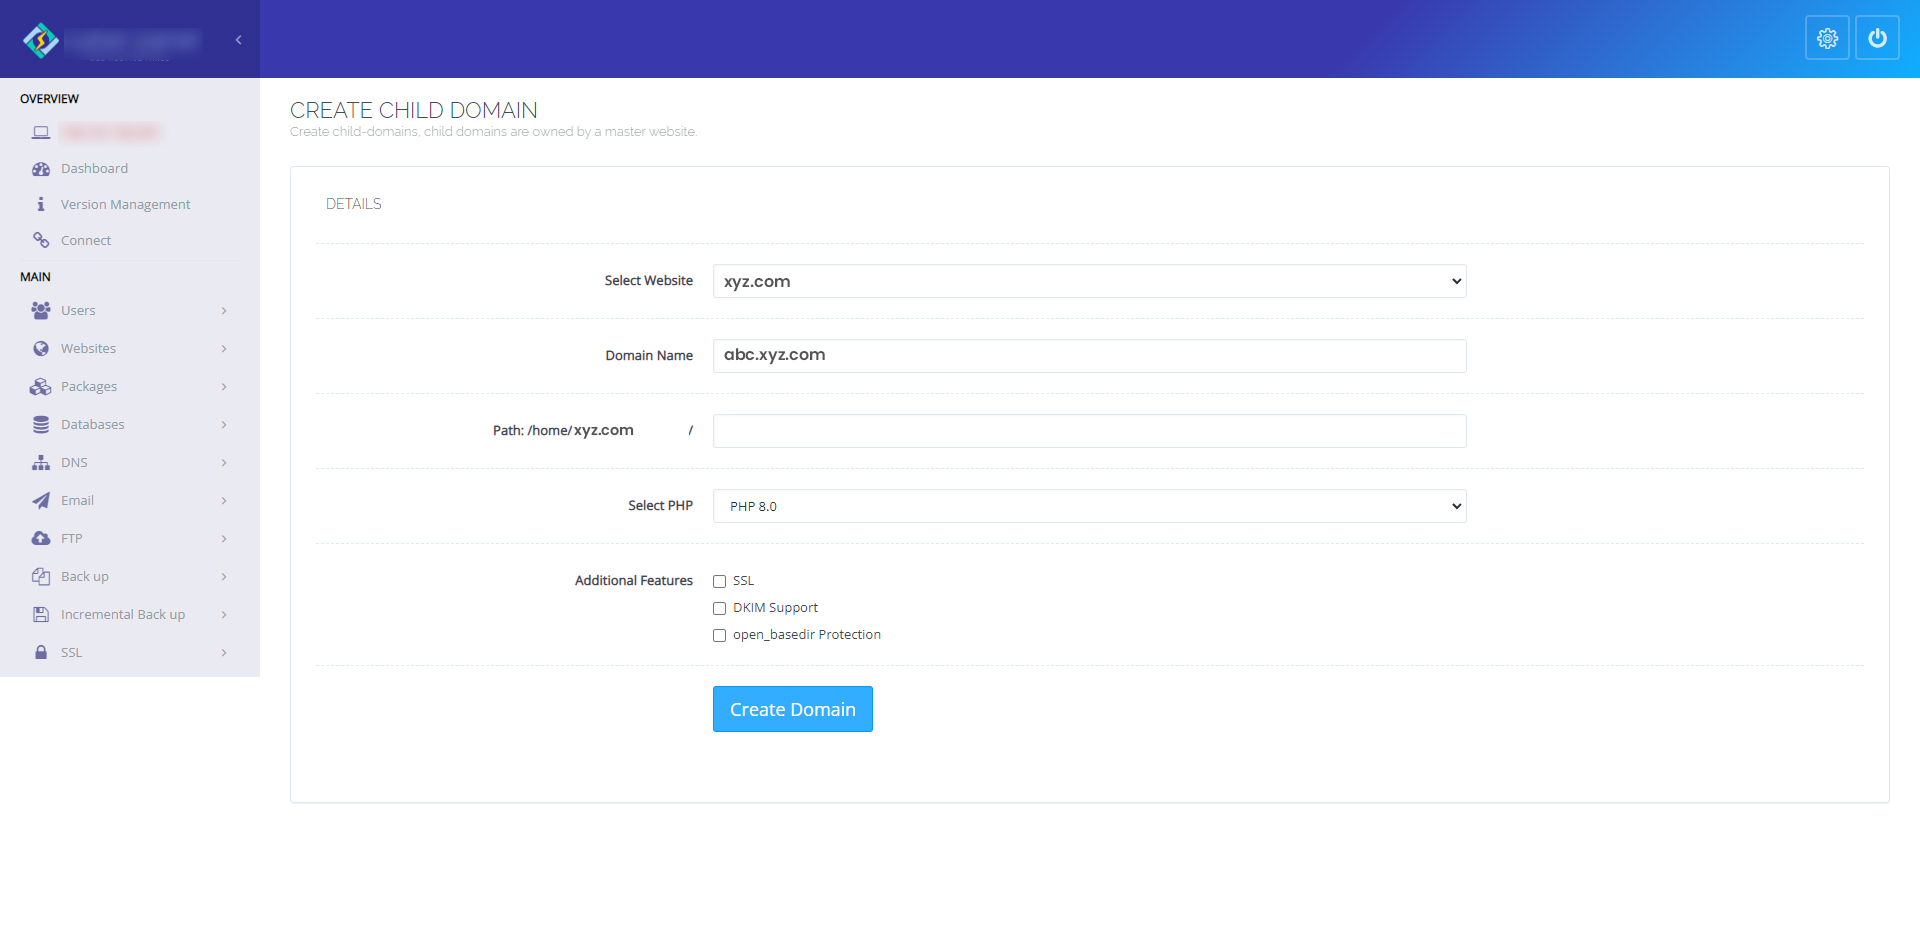
Add a subdomain name, choose a PHP version (the most recent version is recommended), and then click “create domain.”
It’s over now. You now have a subdomain.
Organizing various parts of your website is made simple by setting up subdomains. You may easily create a subdomain using your web hosting account or domain registrar by following the instructions in our guide. Select a pertinent name, add the required DNS records, and test the subdomain to make sure it functions correctly. You may make a professional and useful subdomain that improves the usability and user experience of your website by following these easy steps. Subdomains can help you organize your information in a way that makes it easier for people to traverse your website and more appealing to search engines. Subdomains can help you advance your website, so start using them right away!